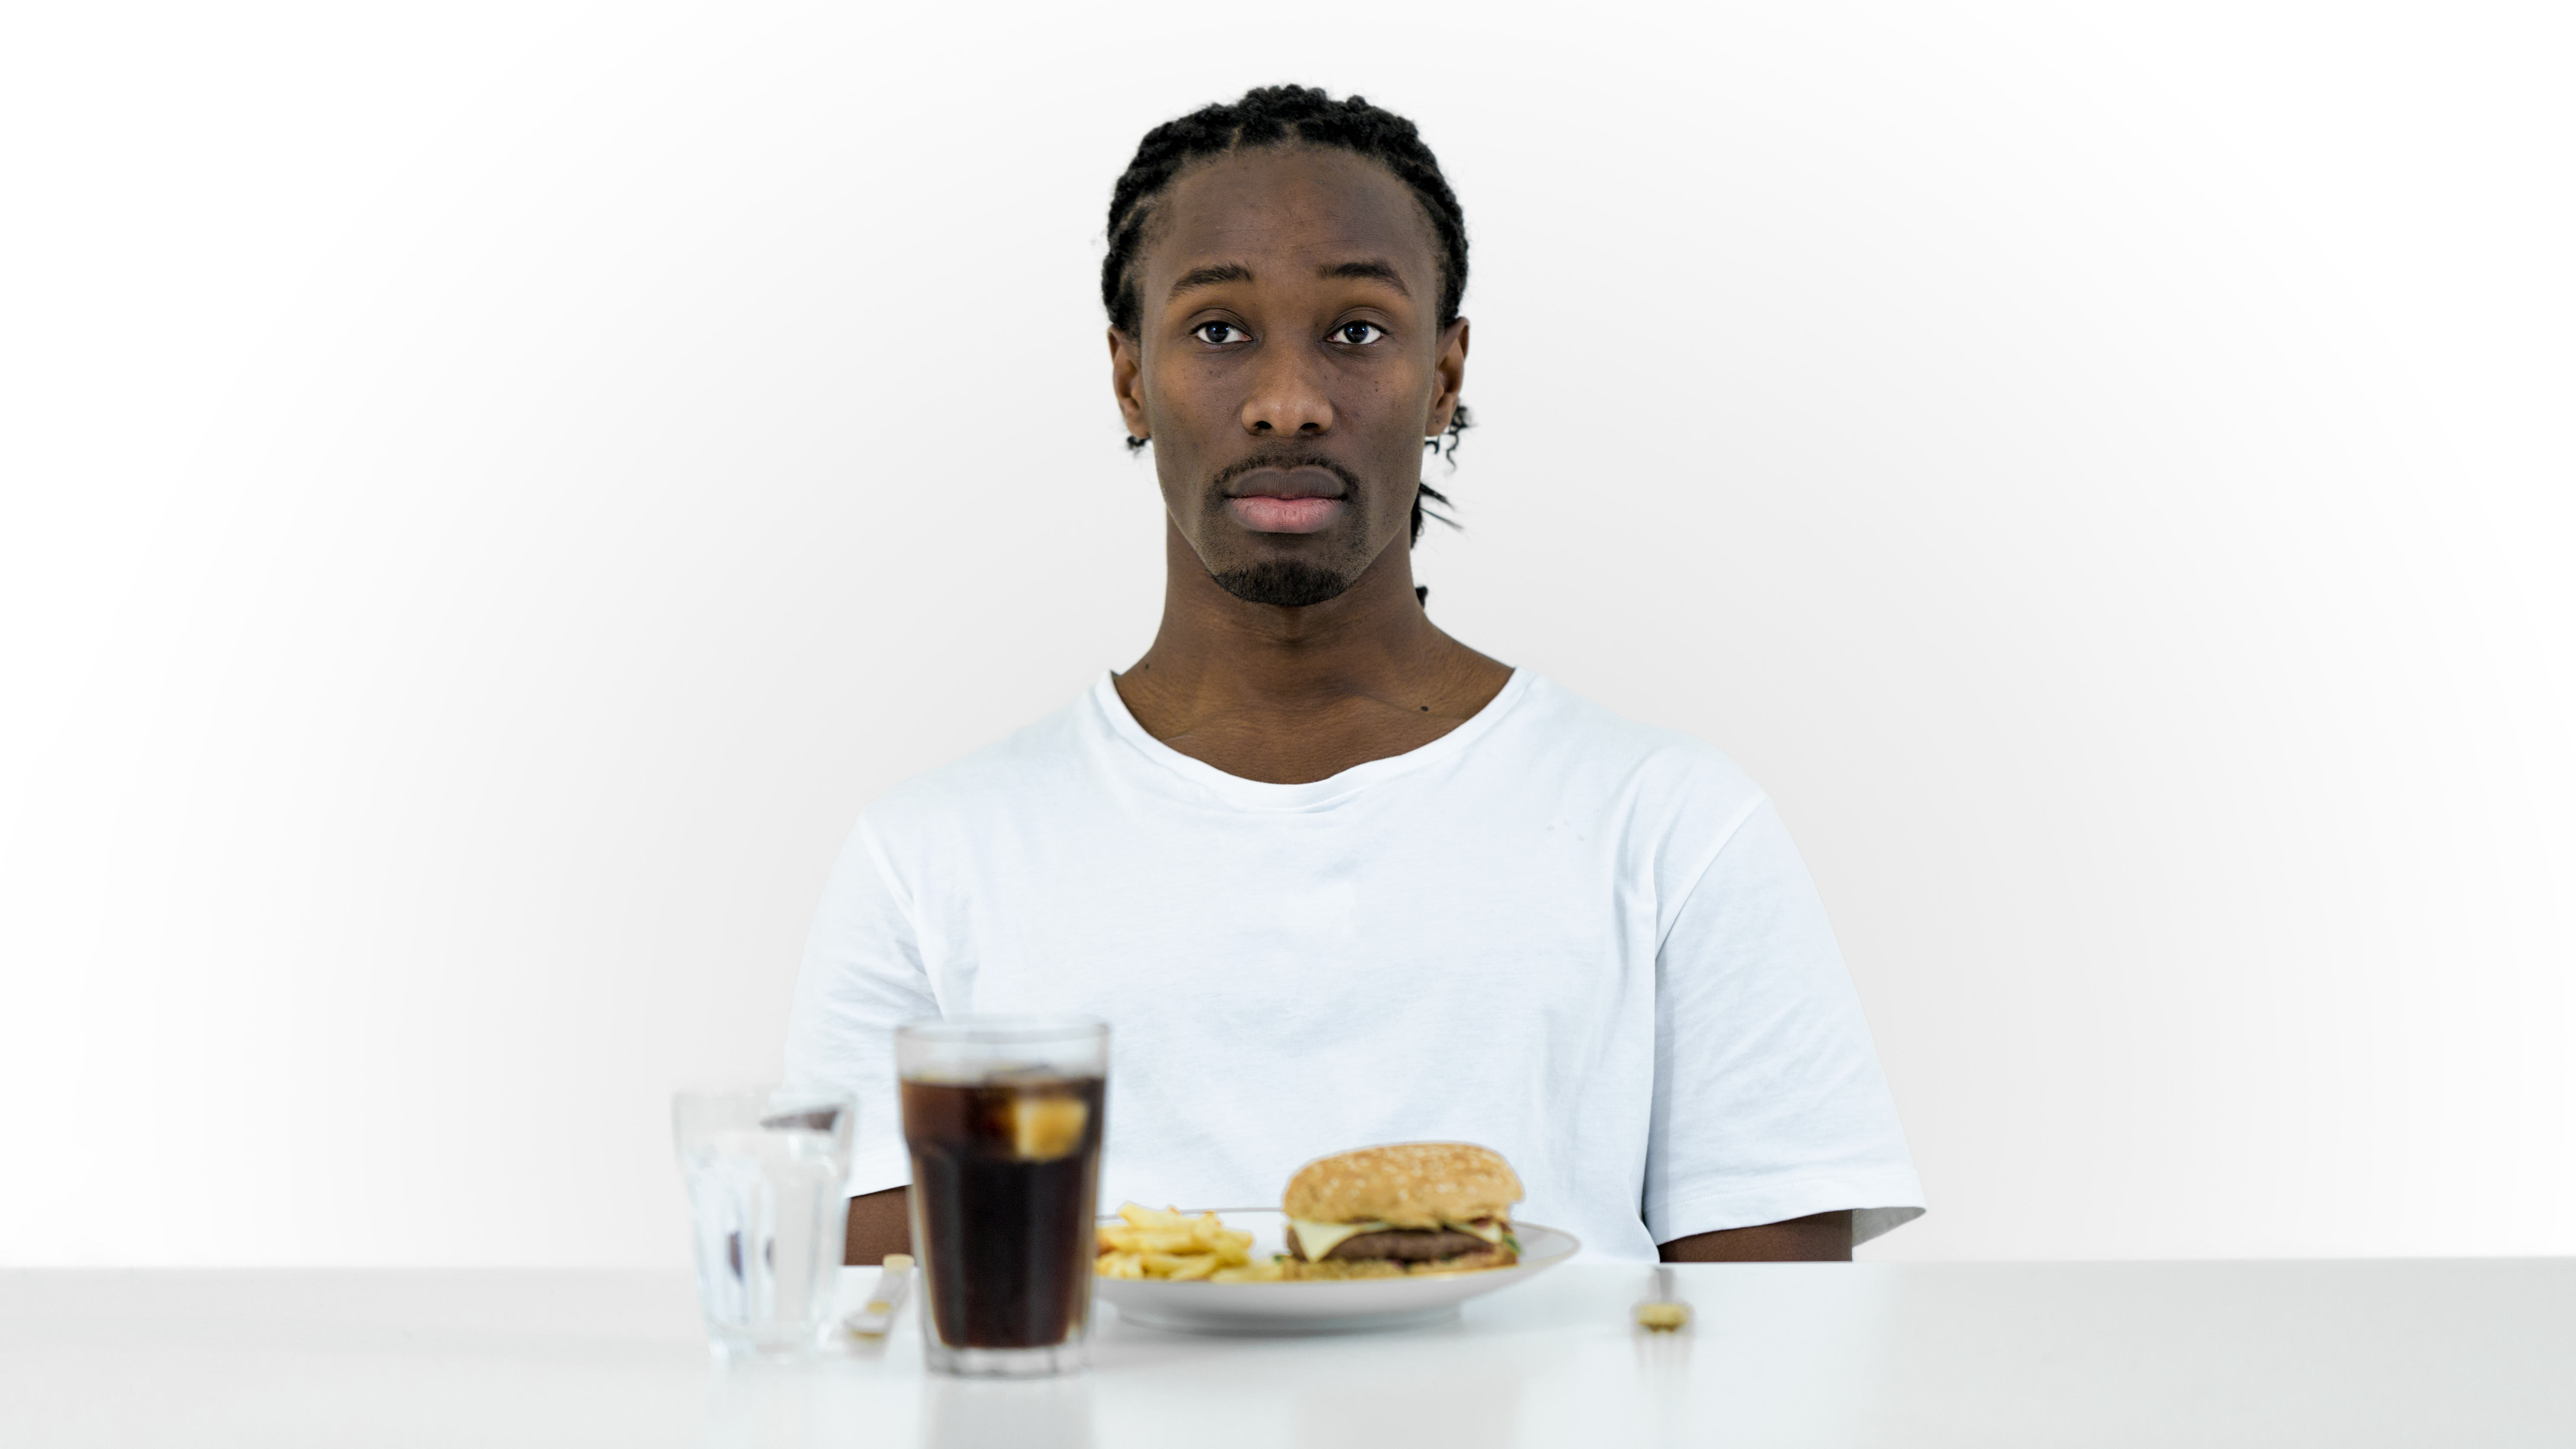
“A Meal Like No Other” is a short film about a man (portrayed by Hervé Toure) eating a three-course meal consisting of his favorite foods. But it is also an exploration of love, pain, pleasure and what it all means when we are about to lose it.
To me, one of its strengths is its narrative structure where the complete story isn’t told until the very end. I strongly suggest you watch it before reading on, as spoilers will follow.
Watch it here:
Summary
In A Meal Like No Other, the first course is an appetizer consisting of a delicious chicken soup. The first sip brings him directly back to his childhood where his mother used to make the soup on cold days. Our protagonist is filled with warmth and happy memories.
The main course is a cheeseburger with french fries and coke. This meal is devoured and eaten fiercely – which isn’t so strange considering he might not have eaten a good cheeseburger, or a cheeseburger at all, in years.
This meal really is like no other as it is his last meal. After a teary scene where he eats the dessert – a brownie with vanilla ice cream – a prison guard comes to escort him to the death chamber. The movie ends with his feet, tied together by chains, dragging on the cold floor, walking slowly towards his final destination.
Backstory
I got the idea for the movie after I started reading about the death penalty in the United States and racism in the judicial system.
Even though racial minorities comprise half of all murder victims nationwide, a far greater proportion (77%) of the victims in death sentences are white. For example, in Alabama 60% of black death row prisoners were convicted of killing a white person, although cases involving black defendants and white murder victims represent only 6% of the murders. 1
Although difficult to present in just a paragraph, the racial disparities are frighteningly real. And that quickly lead me to the case of McCleskey v. Kemp.
McCleskey v. Kemp The final pieces of the film came together when I stumbled over the case of McCleskey v. Kemp.
Although the meal he had for his last meal wasn’t exactly the same as Hervé’s in the film (McCleskey denied his last meal), his case gave me a solid base to work on the character and would serve as a starting point for Hervé Toure’s performance.
Warren McCleskey received the death sentence for allegedly having killed a police officer while robbing a store in Georgia in 1978. McCleskey was African-American, the police officer white. McCleskey appealed his sentence with background in a comprehensive study, the Baldus study:
“Baldus, a law professor at the University of Iowa College of Law, studied twenty-five hundred murder cases in Georgia. Baldus’ study concluded that all individuals convicted of murdering whites were far more likely to receive the death penalty, thus establishing that the application of the death penalty in Georgia was linked with the race of the victim. One of his models concluded that, even after taking account of 39 nonracial variables, defendants charged with killing white victims were 4.3 times as likely to receive a death sentence as defendants charged with killing blacks.”2
The study was dismissed by the court. The ruling said: “even if Baldus’ statistical data were accepted at face value, the defense failed to show evidence of conscious, deliberate bias by law officials associated with the case”. 3
McCleskey has later been called “one of the worst Supreme Court decisions since World War II” 4and has helped “immunize the criminal justice system from judicial scrutiny for racial bias”. 5
McCleskey was executed in Georgia’s electric chair September 28, 1991. 6
A few random facts about the meal itself
As I didn’t have access to a kitchen on the location, both the soup, burger and french fries were served cold.
Hervé was “pleasantly surprised” about the soup and really liked the burger – the cold fries not so much, though. But then who really likes cold fries?
The coke was the worst as it turned out he didn’t even like sodas in the first place. Oh well – unfortunately I didn’t realize it until after we had finished shooting the scene, and thankfully I don’t think it showed at all.
The burger scene was shot in one take – from the first bite to the last. I simply couldn’t stop him! (Nor would I)
Location
With the room I really wanted to emphasize a feeling of open space. With the white floor, walls and ceiling all melting together, I tried to convey that he’s both in his own eternal mind, free of all worries and yet extremely constrained, as he can’t move at all. Each step in any direction will only take him deeper into the nothingness around him.
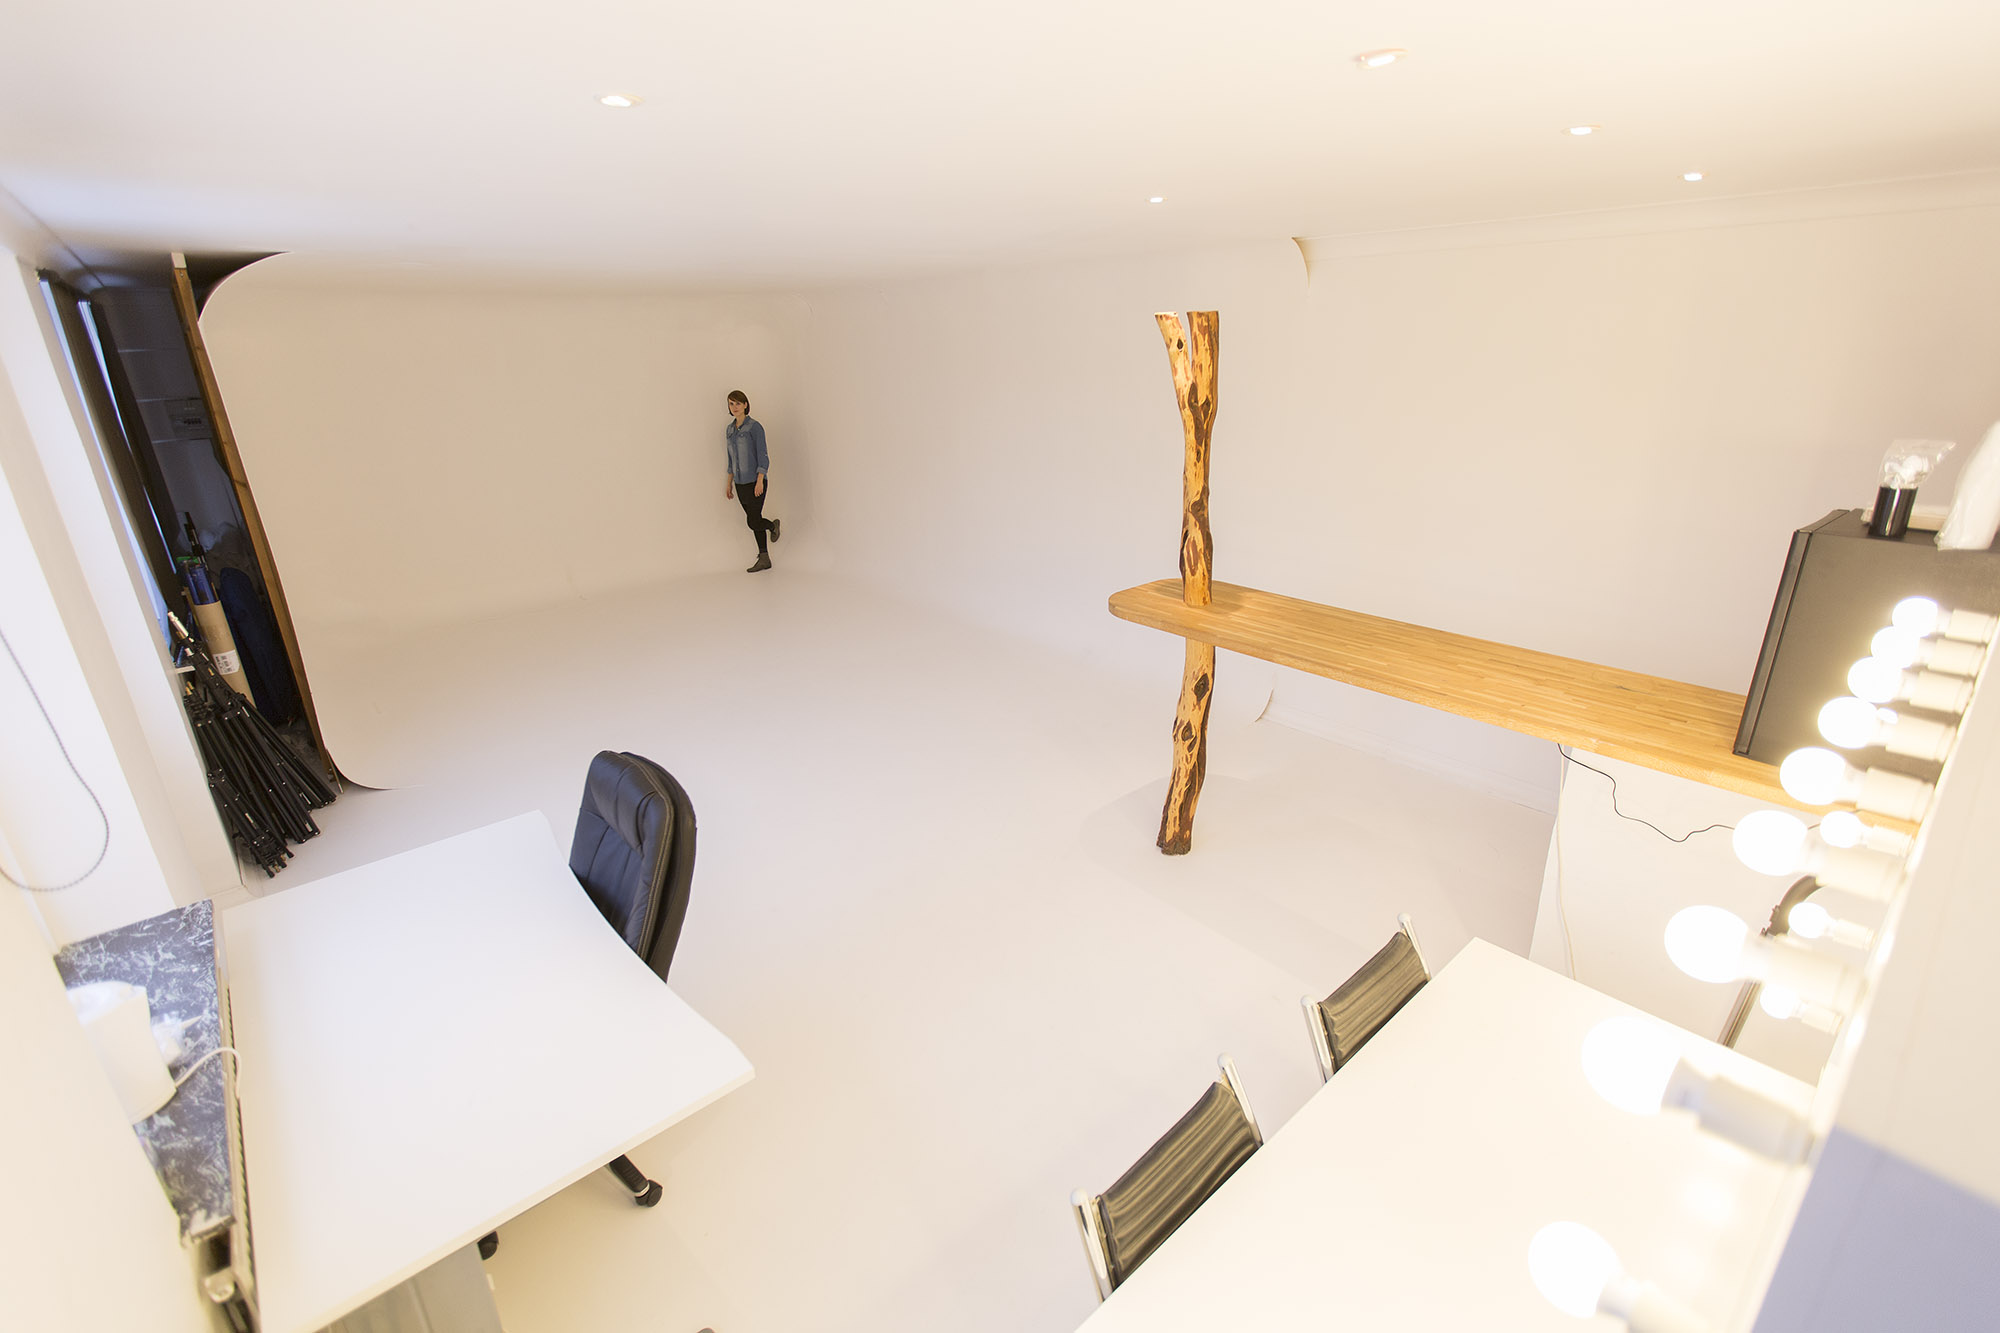
When first conceptualizing the film, I thought I would have to use a simple white backdrop and then move the table and camera around for the different angles. After searching, though, I found the perfect spot: a small studio called “EyeLight” with a round arch horizon. I could try to explain it, but I’ll rather show the pictures to demonstrate it (courtesy of EyeLight):
The round arch horizon shot straight on.
Full view of the studio.
For the shots where Hervé’s back is shown I simply moved him to the other side of the table, and the for the rest of the shots, the table and him could just stay put.
With the lights (a few bulbs on each side bouncing on the walls and ceiling) not having to be moved and no location switching, we could really concentrate on getting each and every single shot executed perfectly.
We also tried to shoot it chronologically so Hervé’s emotions could escalate naturally instead of jumping between nostalgic, hungry and sad every second.
Hervé Toure was outstanding from start to finish. Professional all the way through and really got into his character.
Working with dedicated actors is always incredibly enjoyable and Hervé certainly was no different!
Music and sound
From the beginning, I knew that A Meal Like No Other would be a music driven short film. It wasn’t until I found the final musical piece that I knew how big an impact it would have, though.
I tried all sorts of music but quickly moved to classical. I really wanted it to feel as bare and vulnerable as the rest of the film, so I ended up searching for piano only pieces. I also felt like this would suit the “restaurant” mood conveyed through the drop in music at the beginning and the waiter serving the courses perfectly.
After listening to a lot of beautiful music, I ended up choosing “The Six Pieces for Piano, Op. 118” by Johannes Brahms, found on musopen.org.
Completed in 1893, the composition was the second to last published during Brahms’ lifetime. I am glad it wasn’t the last; I think the complete historical context would almost have made the overall film too intense.
Folio From the start I envisioned the chains dragging along the floor in the end as a very powerful last scene and knew that the sound of it would make it even more intense. I also recorded some environmental sounds like footsteps, chewing, drinking and putting things on the table just to give the room some tone and to draw the viewer deeper into the film.
Camera, lens and storyboard
Almost the whole film was shot on the beautiful Canon EF 100mm f/2.8L Macro IS USM while some of the wider shots were shot with a Tamron SP 24-70mm f/2.8 DI VC USD. I bought the 100mm macro lens specifically for the purpose of this film and I am so glad I did.
It performed well over my expectations and really made the super tight shots enjoyable both to shoot and to watch. At f/2.8, it’s tack sharp, although with a very small focus plane – which made it possible to switch focus from the left eye to the right and back seamlessly. Its image stabilization system made it easy to keep it steady even handheld, which was great as I really wanted a handheld yet smooth look for the film.
For the shots with me in the frame (I played the waiter and guard), my trusted helper Victoria Handskemager assisted with the camera.
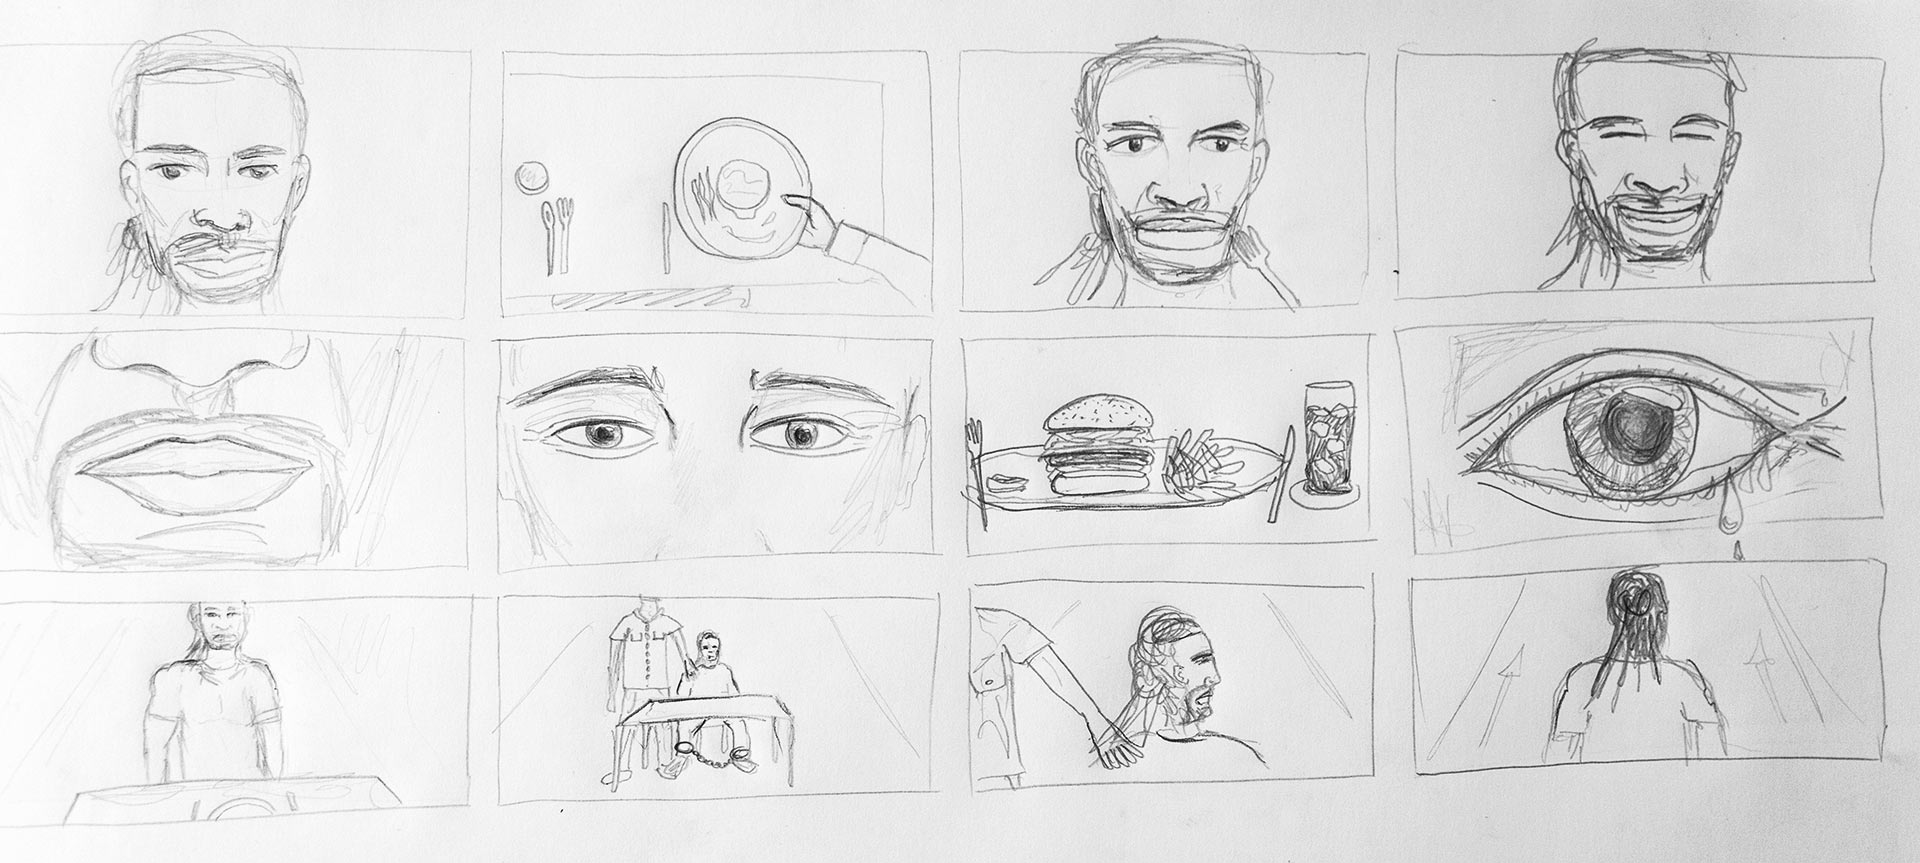
Here’s a storyboard sketch I drew prior to shooting. I think that the overall look ended up being pretty close:
A storyboard sketch showing some of my envisioned shots.
Conclusion
I am really pleased with “A Meal Like No Other”. Hervé was amazing, the room was perfect and the music made it all come together.
I set out to explore what it would feel like to eat your last meal in this world while commenting on a flawed system and a sentence too grave for anyone to be punished with. A task big at first, but with the right tools and tricks I feel like I achieved what I set out to do.
Ninna Milner, a very talented and experienced jazz vocalist, contacted me in November as she was making a new record and wanted some photographs for her cover as well as two videos to go along with it. She wanted a short teaser video for the whole record as well as a music video for the single “All Roads Lead To Rome”.
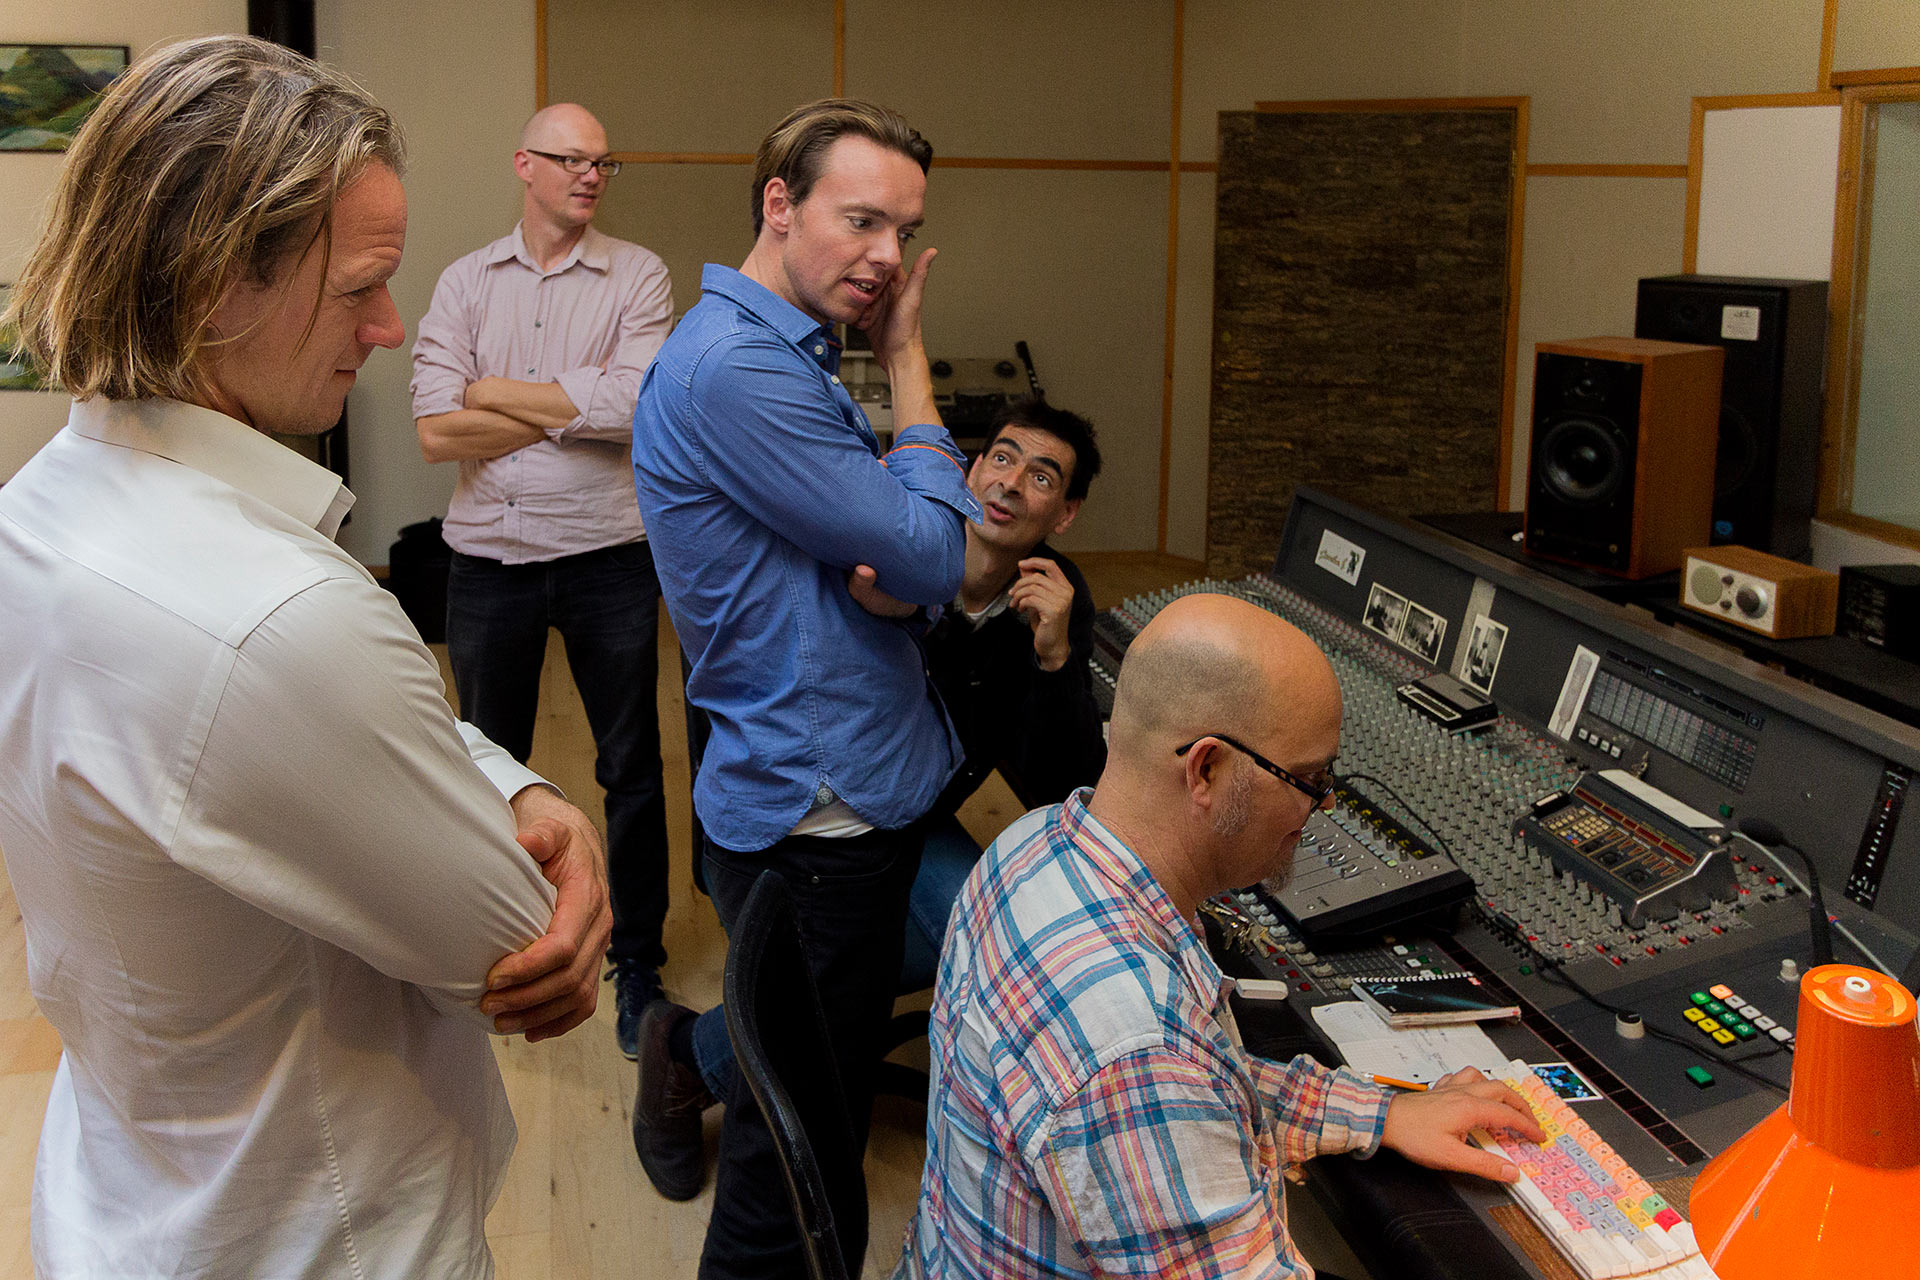
I was invited to come and shoot the band’s live performance while they recorded some of the songs in the studio. These shots would lay the base for both the teaser and the music video.
For the teaser, I also conducted a short interview with Ninna talking briefly about the record and the recording process.
When putting together the teaser video, I really wanted to emphasize the feelings of love, compassion and creativity I experienced while they were in the studio. The love that they had for each other, their instruments and especially the music was truly inspiring and I wanted to capture that.
At first I was a bit skeptical of the idea that I wouldn’t have too much control over their performances – but in the end, this also meant that the video(s) have some of that special “creation” magic over them that you can’t fake.
The story
For the music video, I knew that we had to create a story to go along with the lyrics to keep it interesting to the viewer. So I came up with a fairly basic concept with Ninna herself as the protagonist.
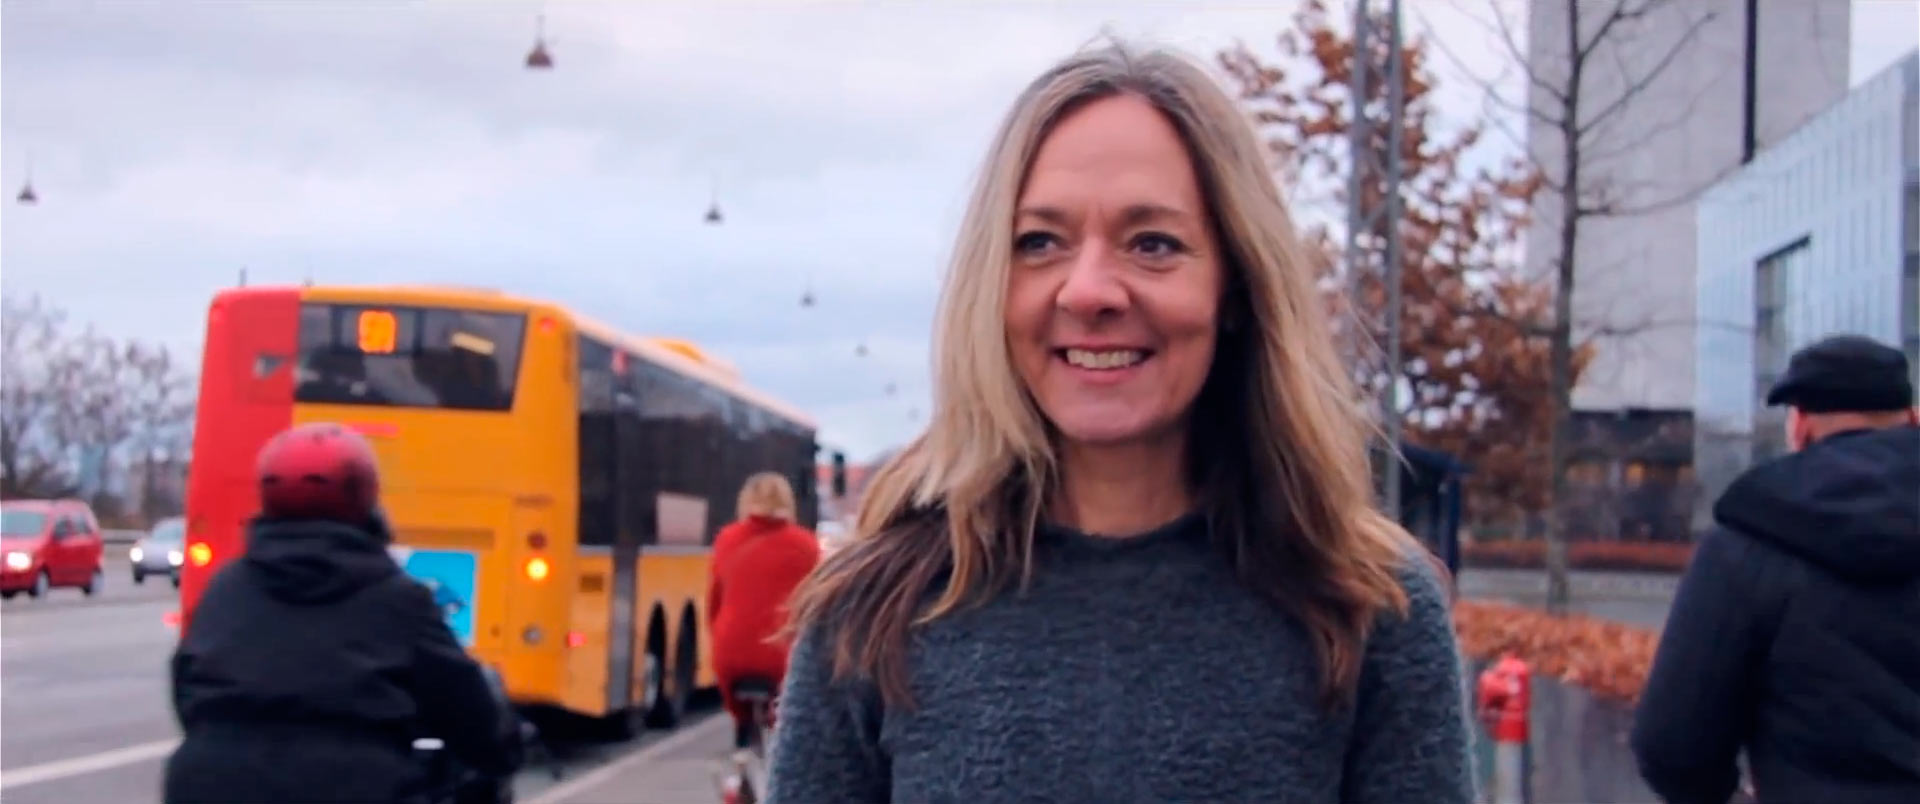
She leaves the safeness of her home and loving husband to go out and find herself in the world. At first, she thinks that the answer to her search might be in the city. But as the traffic, steel and glass facades seem more and more unfamiliar and daunting, she decided to continue her search in nature instead. At first, this seems right and she feels at home, but the darkness creeps up on her and at last she realizes that the only place you feel truly at home is at home. So in the end, she returns to where she started (in the arms of her husband) but with a new and more profound understanding of herself.
When watching the video, the big picture is relatively easy to grasp, but to make the feelings of uneasiness and anxiety explicit I reversed the time in several of the shots so everyone seemed to move backwards. When she is finally headed home again, though, she is walking forwards while everyone else is moving backwards.
Ninna is walking forward while the rest of the world move backwards
To truly keep it authentic to Ninna’s life, her husband was in fact played by her husband (whose children are actors – and it’s easy to see where they’ve got it from)
Gear
Gear wise we kept it fairly run and gun as we had to cover a vast array of locations in a single day.
For most of the shots, I used my trusty Canon 50mm 1.4 with the 60D. To cover the wide angles and to distort the perspective a bit I used the Canon 10-22 and for some extra stabilization I also used the 17-85 with IS.
For stabilization and smoothness I also used my sturdy ol’ tripod, the Socom Video Shoulder Rig as well as their SD-1 Slider Dolly. And as always, I carried by trusted 5-in-1 reflector as well as a LED light for the night shots.
When looking back
In retrospect, I would have liked to have used a few more minutes on each location to double check if all the shots were as smooth as they looked on the on-camera LCD.
When going into post-production, you always see something that you could have sworn wasn’t there when you shot it… (Like a guy walking past and looking into the camera right behind the talent)
But hey, life’s a learning process, right? Anyway, that’s one of the key things I’ll take with me.
Talking about the good, I was really happy that I had laid out a detailed shooting schedule for us. To be able to know exactly what shots were needed was essential to get complete coverage for the story. For spur of the moment creativity, I did leave in some flexibility though, which I think is always super important.
Another thing that could have saved me some headache in the end would have been to actually film the musicians playing “All Roads Lead To Rome”.
For the two takes I got in the studio of the song, I only pointed my camera at Ninna singing it. And as she went in again later on to redo her vocals, I was actually left with nothing to synchronize.
Thankfully, most of her singing was still pretty much the same, and I could still use most of what I had shot in the studio. But all the clips with “live” instruments? They are not actually playing the right song.
If you’re musically gifted and really concentrate on hearing the sounds the instruments should be playing in contrast to what you actually hear in the song, you might notice it. But if you just let yourself swing along, you probably won’t.
To wrap it up
All in all, it was amazing to work with Ninna on the teaser and the music video. We are both pleased with the process and the results, and when it all comes down to it, that’s the most important thing.
“Rige Svin” is the latest music video from my and my friend Malte’s little music duo, “Kinnu & Milly Mon Dieu”.
Both the concept for the song and the video came from simply fooling around with different character concepts while listening to a great beat that Malte, my incredibly talented producer and co-star, had made the night before.
After a lot of awful ideas, we came up with the concept of two rich and stingy men.
These men would have no problem buying an expensive car or a big house, but they would be reluctant spending money on anything that didn’t give them immediate status. They would only care about themselves and feel nothing but pity and disgust for those less blessed money-wise than them.
The song “Rige Svin”, best translated to “rich pigs”, was born.
In the next several hours, we continued working on both the beat, the melody and the lyrics.
It all came together when Malte suddenly started singing what would become the chorus to the song: “Money is a big problem… for you and not for us”
From the beginning, we knew we had to make a video
When we finished recording it the next day, we knew that we had to make a video to go along with the song. And as the lyrics are so explicit and graphical, we also knew that it would take a lot of effort and a lot of different locations.
So we started sketching out ideas, coming up with different scenarios to go with the lyrics. Some were straight forward, and some were a bit more difficult to showcase.
For example, it took us a little while to figure out how to successfully show how someone earns money and loses friends – at the same time – all in a matter of seconds. (The answer was to use a pile of money, a computer and After Effects. Get the full breakdown later on)
Having very specific footage to almost every word in the verses made the never ending music video dilemma of “what to put where” a bit easier to manage – which of course was pleasant. This way, we had a specific scene to each line of the verses.
Actors
To assist us in telling the story, we brought in four very talented actresses: Victoria Handskemager, Sophie Larsen, Alberte Halmø and Thyra Sisse Jensen.
Malte is too cheap to get them a cab, so he chooses to take Sophie home on his bicycle.
Victoria Handskemager plays both Charlotte as well as the running girl in the gym.
Here Alberte Halmø is showing her true self: a loving and caring human being.
Even though it looks like Malte thinks so, it wasn’t early in the morning. The guy in the middle is Jeppe Pelck Bille Davidsen and he plays the guy wondering about Malte’s entrance to the bar. The girl on the left is Thyra Sisse Jensen.
Getting the right performance from actors isn’t always as easy as handing them a script and/or a storyboard and putting them in front of the camera, but in this case, it was even simpler than that.
They simply watched the footage we had already shot to get the vibe (most of the footage including only Malte and me), all while getting a feel for the song, too.
I’m sure that Alberte didn’t find it natural to want to go home with me simply because I offered her a large bag of cocaine, but her reaction on camera sure didn’t show that!
Picking the right actors is half the battle to great performances – and in this case, we were more than lucky that these wonderful girls found both the time and energy to help us with our project.
The backstory
To give the video some backbone, we constructed a story which would dictate most of the action not directly related to the lyrics.
This is what we wrote down prior to making the shot breakdown and storyboard:
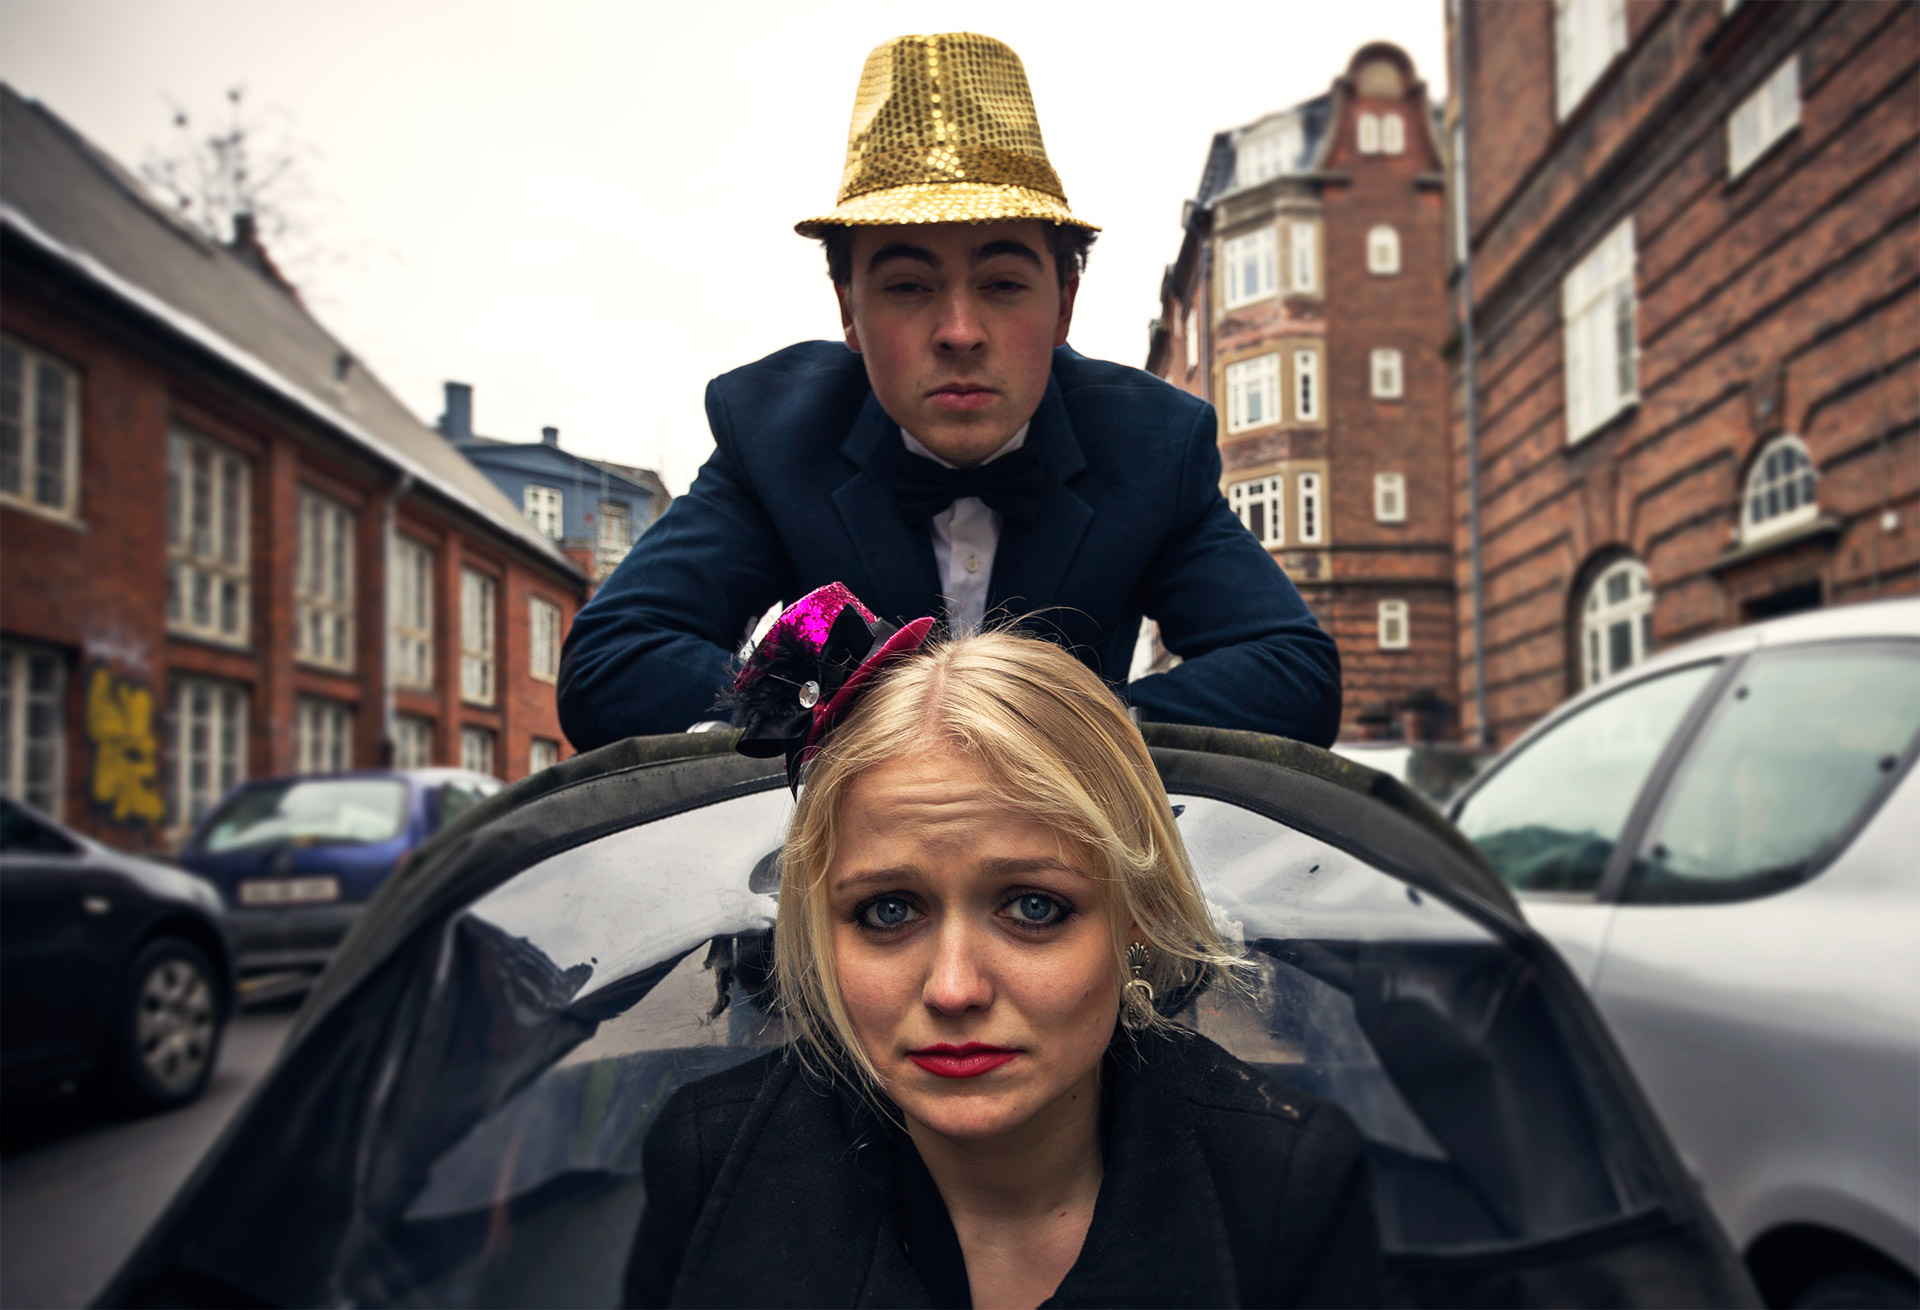
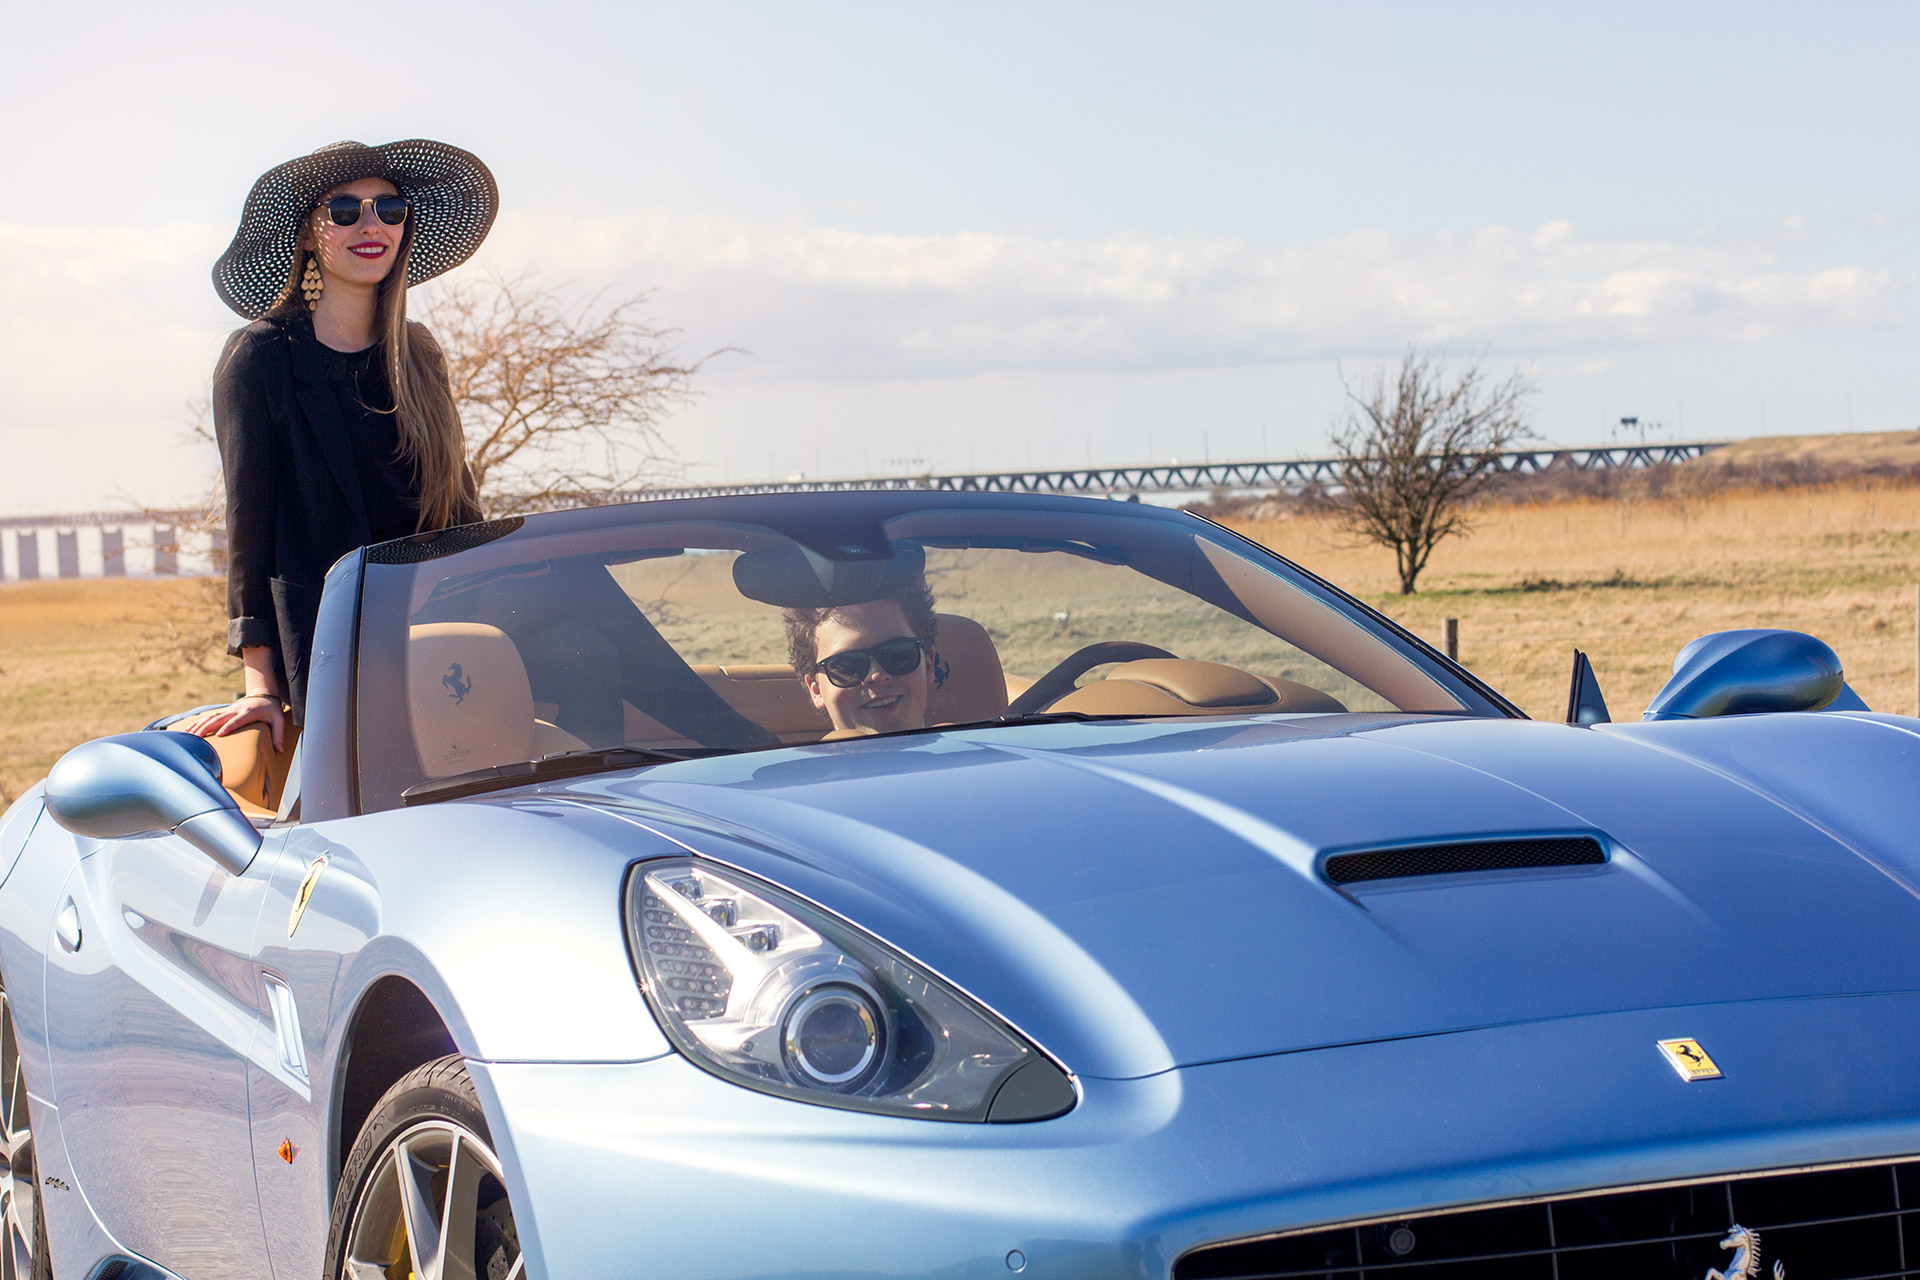
“Malte rolls up to a party in Malmö Centrum in his blue Ferrari. At the party he meets Charlotte, a beautiful dark-haired girl, whom he brings home to his apartment in the city.
Next morning he says that he must go and visit a good friend to do some business, but that he can drop her off on the way. She lives a little out of town, but close to Maltes friend, so it suits her fine.
Malte chooses to drive the shortest way to Alex’ house, and thus doesn’t drop Charlotte off at her home. Alex stands outside waiting for them when they arrive (hungover from the night before), and Malte then throws Charlotte out of the car to make room for Alex.
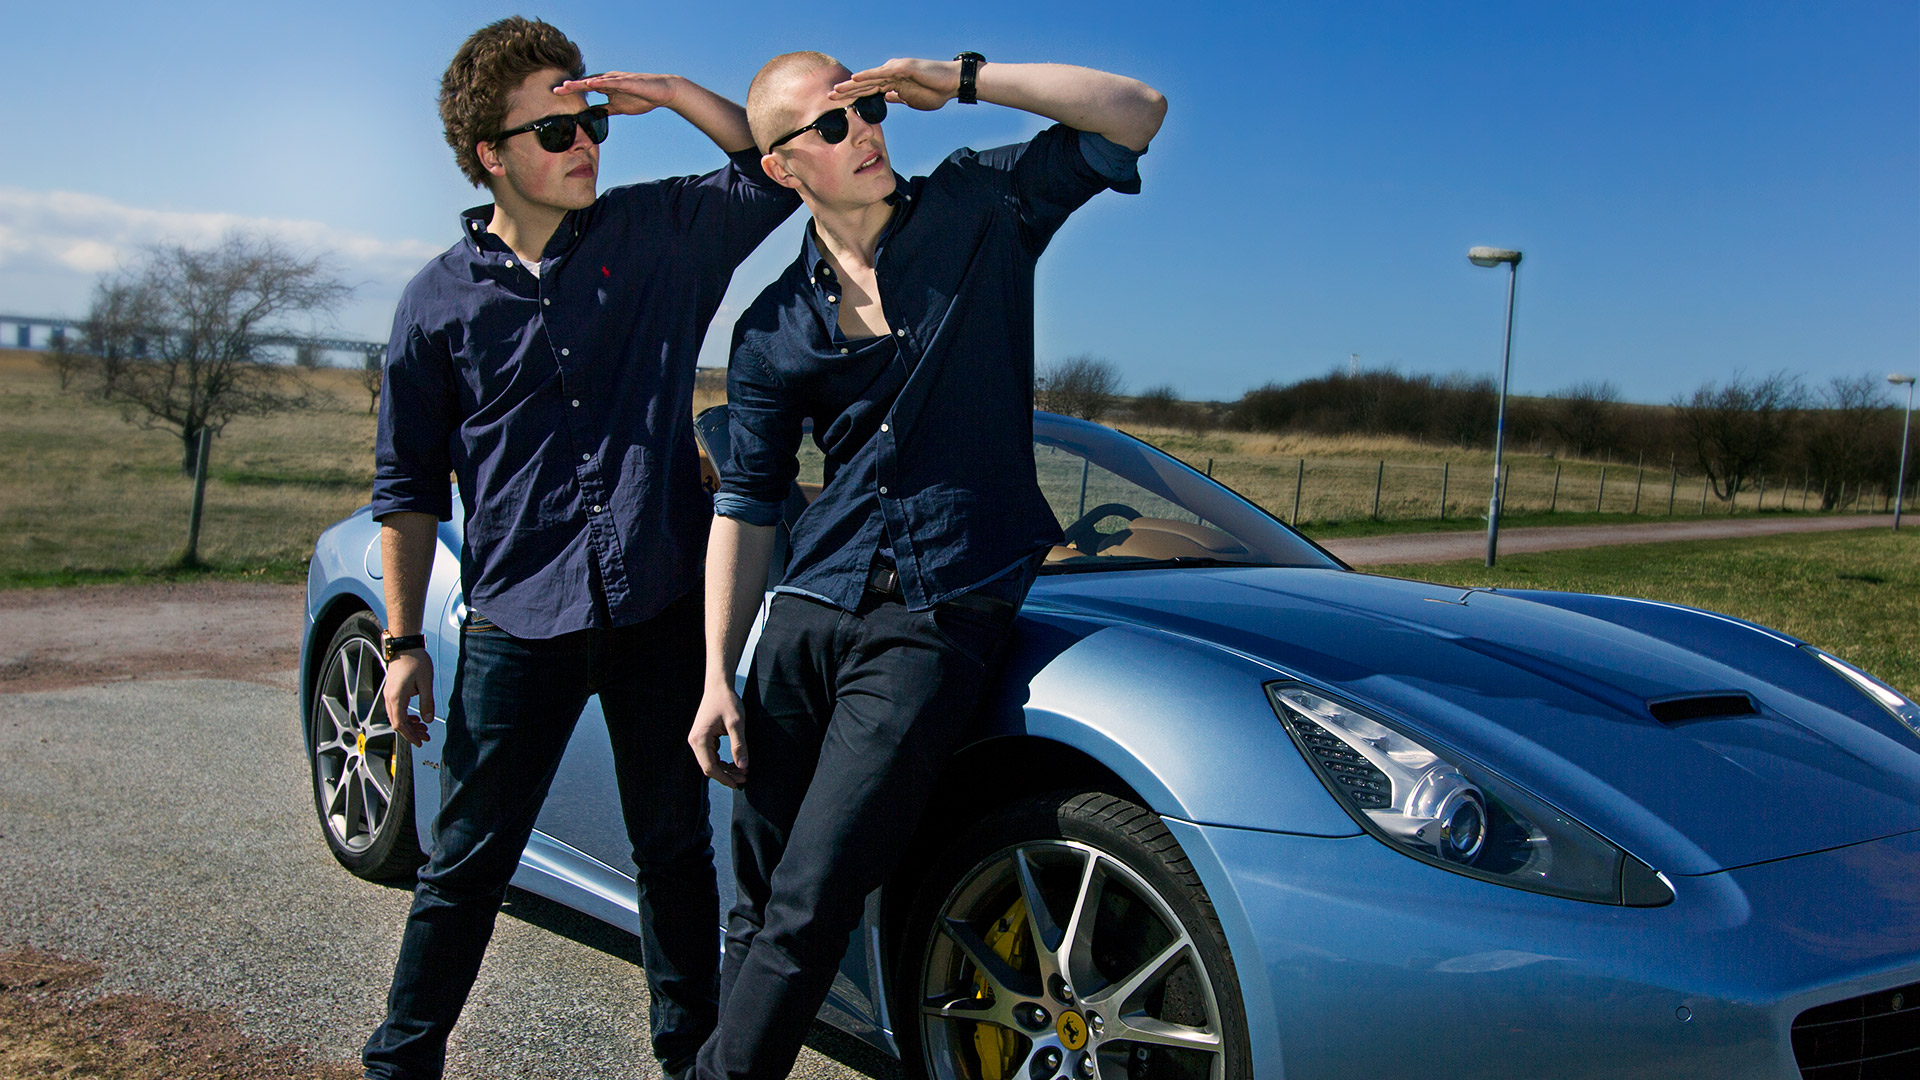
The two friends take the Ferrari for a spin on the first sunny day of the year. They are excited to feel speed and excitement again after a long and dreary winter, and they know that the ladies are just waiting out there.
They drive slow on the streets, fast on the highway and more than anything, they want to be seen.”
This story, with Malte and I driving around, is the present. Everything else is stories from the recent past that we share with each other while driving.
Even though this story isn’t important to say what we wanted to say with the video, it made it a lot easier for us to plan the final edit as well as to give it some kind of feeling of continuity – all while tying our two characters together.
The first VFX in the video is about 8 seconds in, showing money bills falling down in front of the text “Rige Svin”.
The money falling down was shot with a black back drop with 60fps and a shutter of 1/50. It was then slowed down to 40% in Premiere. It was my father who dropped the bills (gracefully, should I say so myself).
I then got it into After Effects via dynamic link, and after adding the text, I started rotoscoping the notes. Rotoscoping is a pretty straight-forward process. With a little patience, the results are often pretty impressive. To get some of the bills behind the text in the end of the small sequence, I simply rotoscoped them as background instead of foreground.
To make it look even more realistic, I also added a bit of motion blur to the rotoscoping (which is also apparent in the still from above where you can see through the edges of the notes).
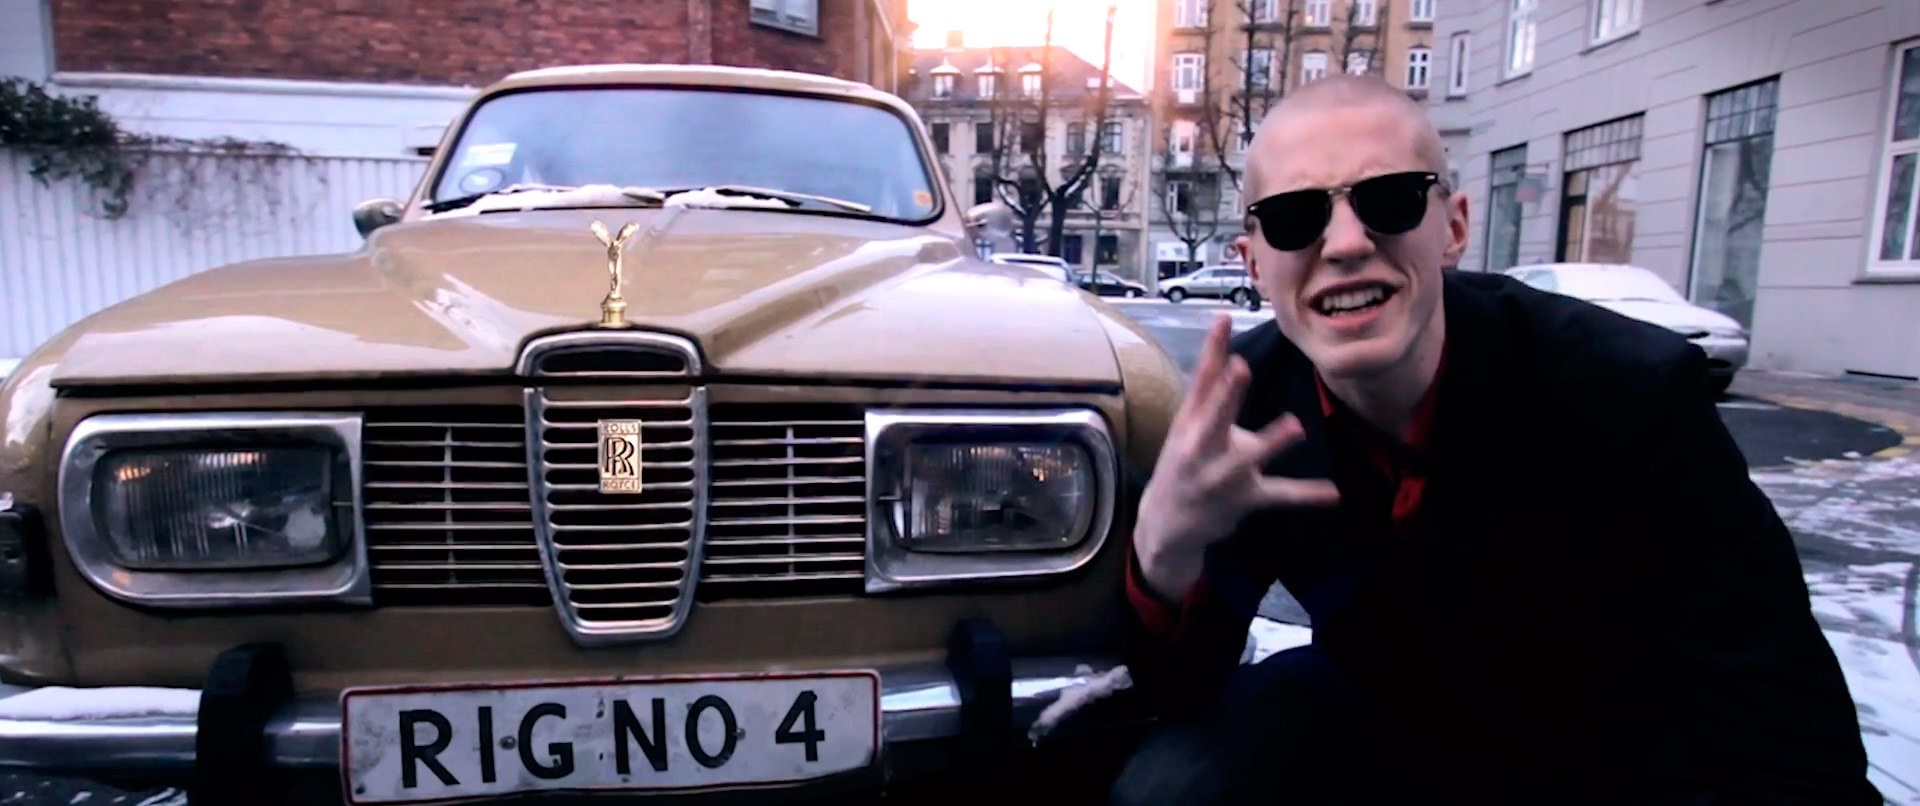
“It says rich no. 4 on my license plate – as number 1, 2 and 3 already were taken.”
To change the license plate on the yellow car at @1.04, the first thing I had to do was to export a frame for editing. With the clip on the timeline in Premiere, I right clicked it and chose “Replace with After Effects Composition”. This will open up After Effects and make a “dynamic link” between the two – meaning that saving the comp in After Effects will also make the changes appear in your Premiere sequence.
This is great for a while bunch of stuff, but actually wasn’t needed in this case. All I needed After Effects for was the “Export frame to clipboard” feature, which can be found under File -> Export -> Export frame. This puts a copy of any given frame of your footage in your clipboard – which then can be pasted into a Photoshop document of the same size.
Once inside Photoshop, I had all the artistic tools needed to do the job available. I started with making a blank license plate, erasing the real text by cloning the parts just beside it. I then “grunged” the now bare plate with low opacity “grunge” brushes at small sizes. You can find grunge brushes, as well as many other kinds of free brushes for Photoshop, here: DeviantArt Photoshop brushes.
To add the text “Rig no 4”, I found a font that matched the font used for Danish license plates. I then gave the letters the right amount of space between them, and used Photoshop’s transform tools (mainly skew and warp) to give it the right perspective. To finish it off, I also “grunged” the text by adding stains and deleting small parts of it.
Adding the Rolls Royce logo and small statue was mainly a question of finding the right stock photos. I then only had to match the colors, lighting, position and sharpness.
I then imported the .psd into my Premiere project and added it on top of the original clip on the timeline. Playing it back, I was of course totally static as it was just a picture. The trick is to crop out the moving parts of the .psd – which was easily done with the crop “effect” inside Premiere.
For more advanced masking, After Effects has some very powerful tools available, but with the camera locked down on a tripod and my motion not spilling over my Photoshop manipulations, I was good to go.
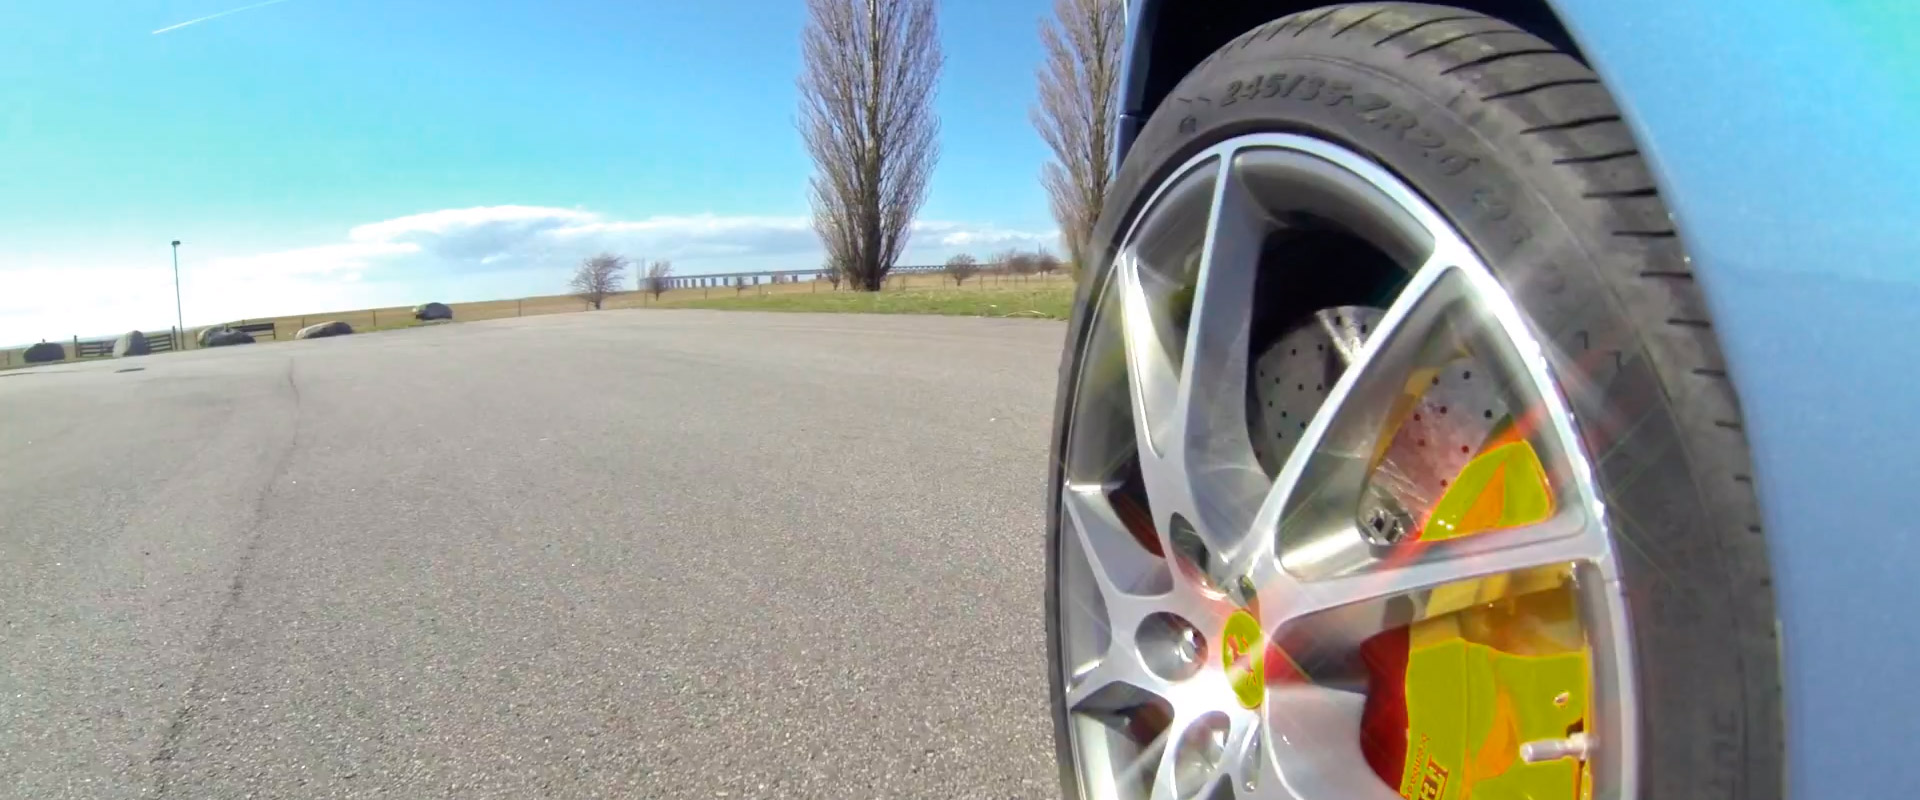
Twixtor is a must-have plugin if you plan to do extreme slow-motion.
With the tools of today, capturing extreme slow-mo is neither very difficult or expensive. You simply need a camera capable of capturing around 60 frames per second on a reasonable resolution, the ability to adjust the shutter manually and Premiere or After Effects with the Twixtor plugin.
It should be said that this isn’t in fact “real” slow-motion. Twixtor merely estimates the motion going on between the frames to make it look like extreme slow-motion. But to me, this difference is rather subtle, and the before mentioned formula is capable of capturing some truly amazing shots.
To make this kind of extreme slow-motion look good, there are a few things to keep in mind.
The first thing is stabilization. The relatively minor annoyance of shaking gets multiplied exponentially when you slow down footage by more than 70-80%. In this case, the footage was slowed down to about 5% at it’s peak.
The other thing is to move slowly yourself. Actually doing things very slowly can add to the effect tremendously.
Action accelerates slowest at its peak. The frames just before gravity pulls an object down are the frames you probably want to use.
Having as few distractions in the background as possible helps Twixtor estimate the motion.
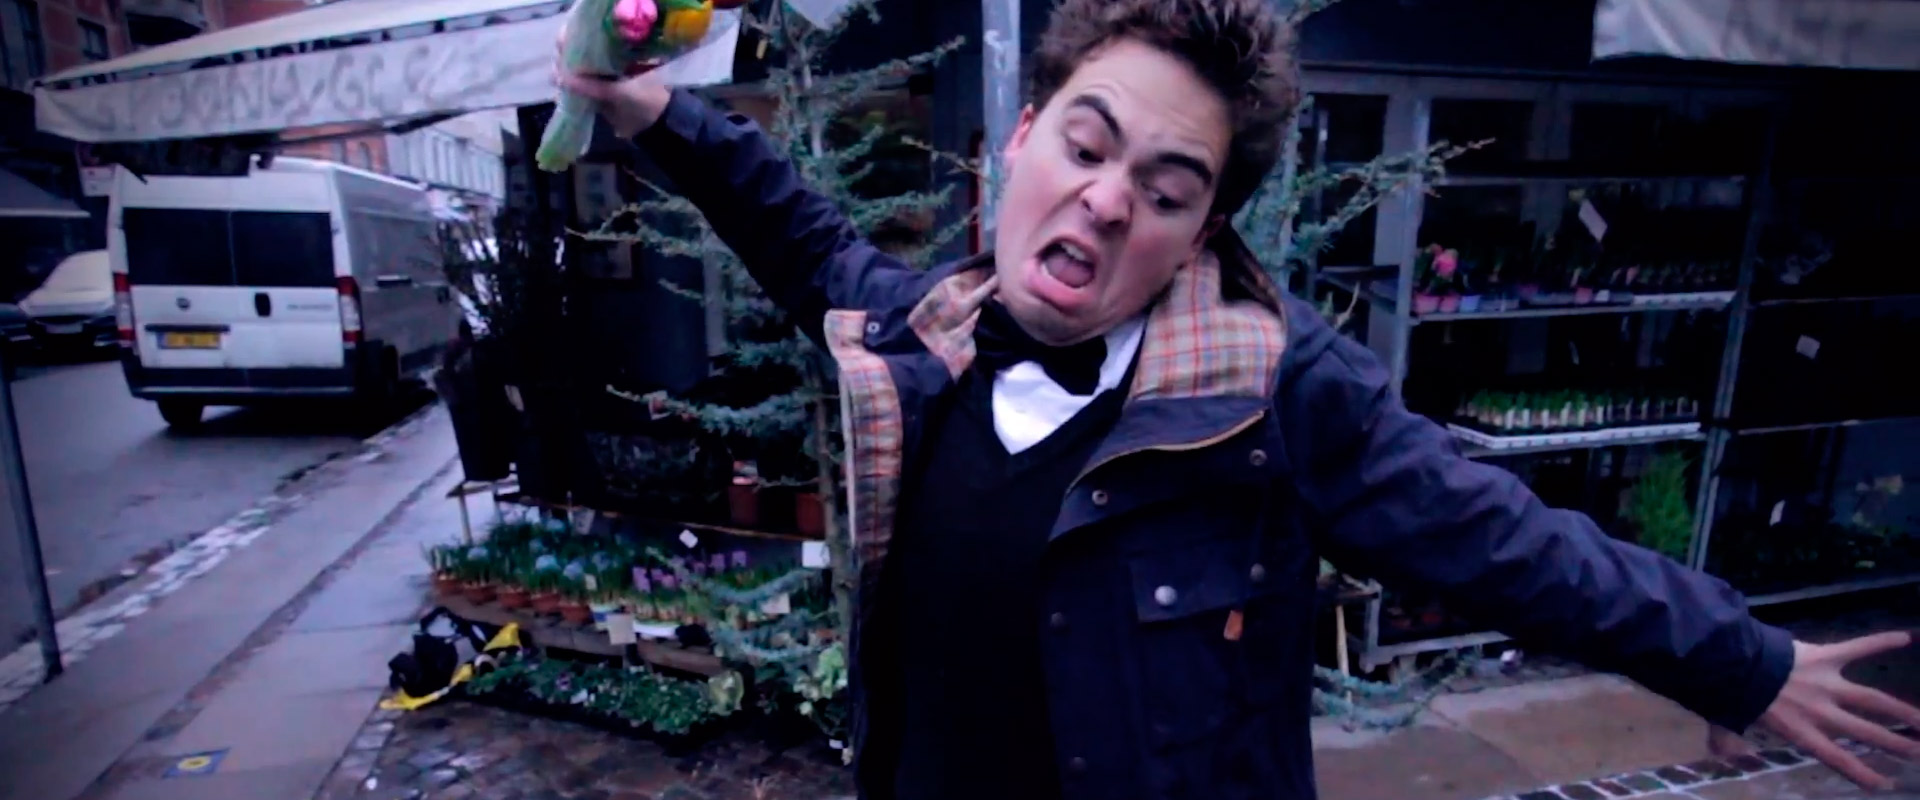
Be careful which light sources you have in your image. When you use a shutter speed faster than about 1/100, light flickering starts to become apparent. We actually made this mistake with our shot – you can see the light inside the flower shop behind Malte flicker – but decided to keep it anyway as it added to the dramatic effect. Learn more about light flickering here: Rough Guide to Flicker-Free HD Shooting.
Using a GoPro Hero 3 Black Edition and the GoPro suction mount made it possible for us to capture footage while driving in a very safe manner.
I simply used a Battery Bacpac for the extended battery life as well as my iPhone and the built in WiFi in the GoPro to preview the footage. The suction mount then did the rest – and I’ll tell you one thing; driving 125 mph did in no way weaken its grip on the car.
For the GoPro, I used the 2.4k 23.976fps mode with ProTunes turned on. Premiere did have a few hickups playing it back, but rendering it was relatively pain free – and I could easily play it back on a lower resolution.
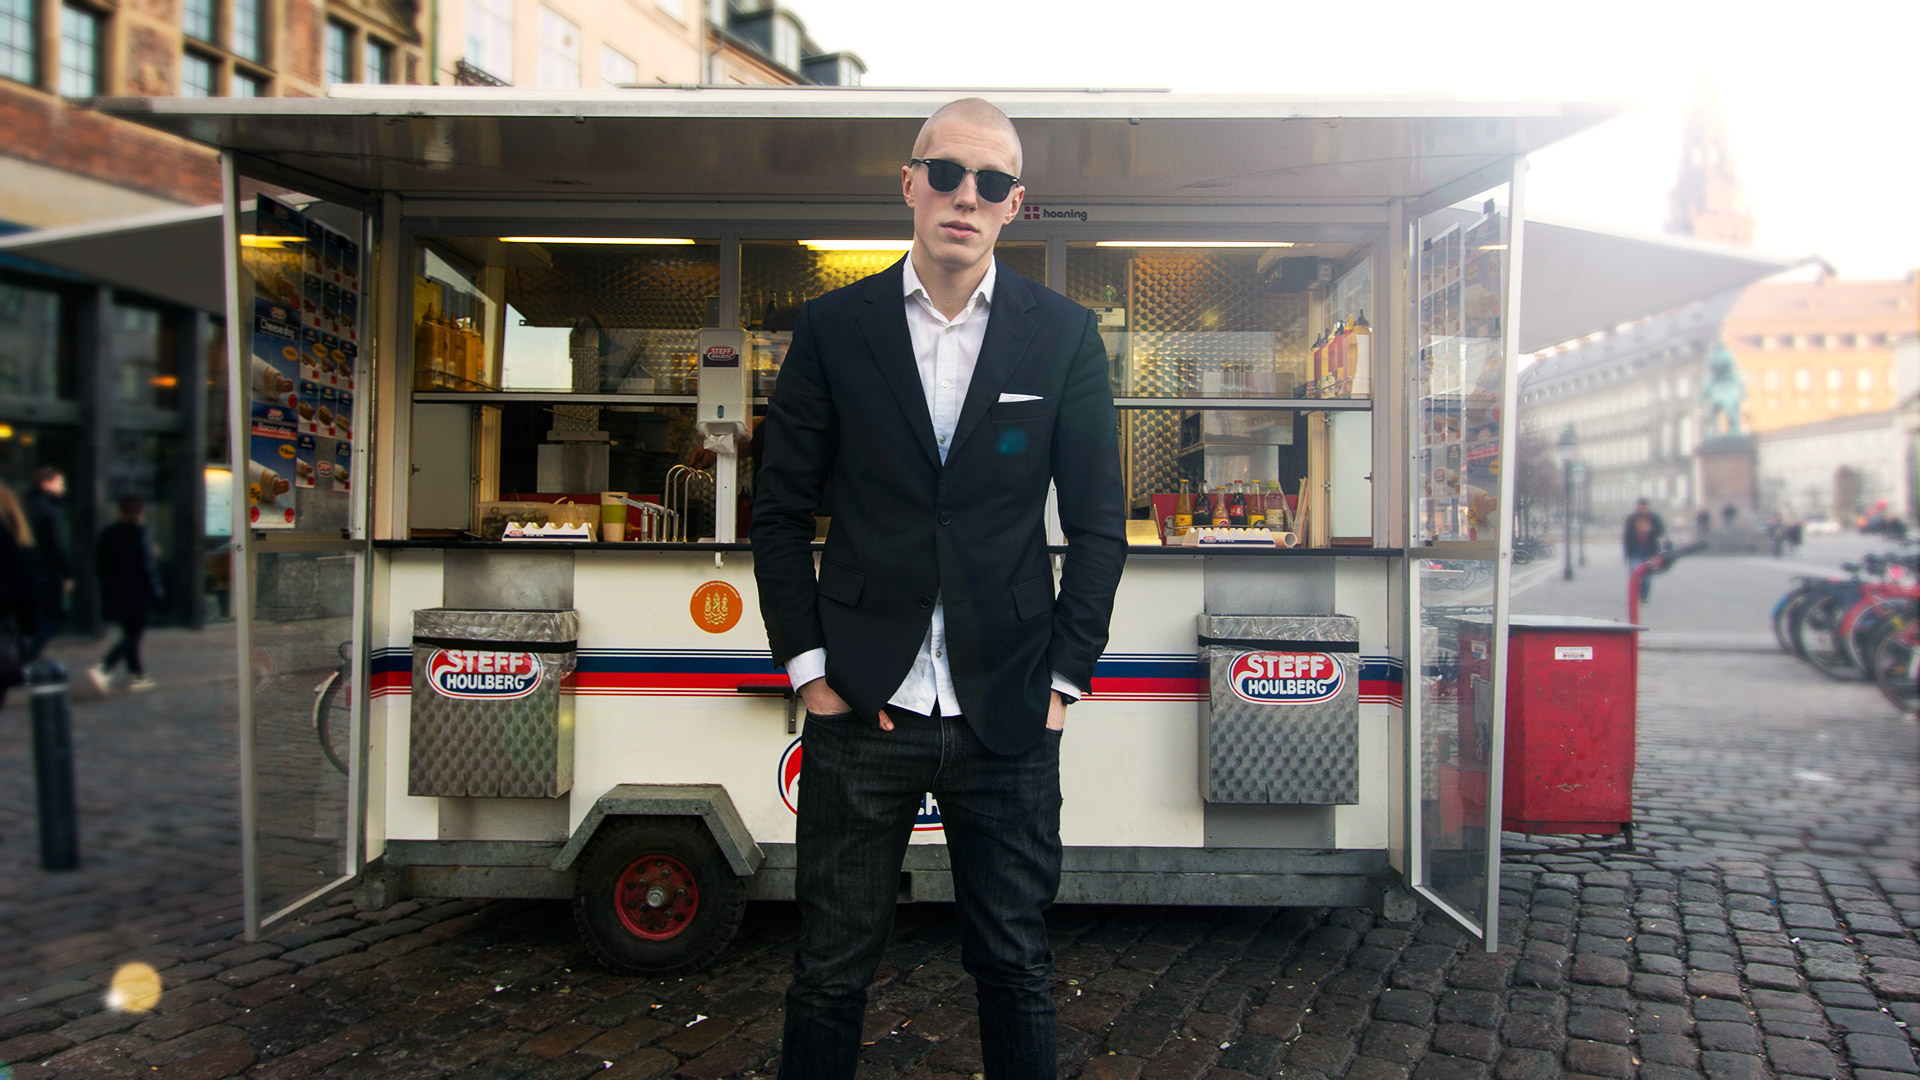
Walking past the two Michelin star awarded restaurants NOMA and Formel to end up at a fast food stand.
To make it look almost like I was in front of a green screen, we simply set up the camera on a tripod and counted something like 8 steps and marked a spot. I then walked directly over that spot, trying to match my tempo from the other clips. As I had walked in front of the camera several times at each location, we had a lot of material to choose from when editing. Matching the clips was then only a matter of looking through them and testing different combinations until we finally got it exactly right.
To do this shoot, we first had to film the pile of money adding up and then stitch it together in After Effects. This was relatively simple and just took a few layers and some masking. The Facebook friends dissapearing was realized by having two versions of the still image. One with the friends – and the other one without them. I use
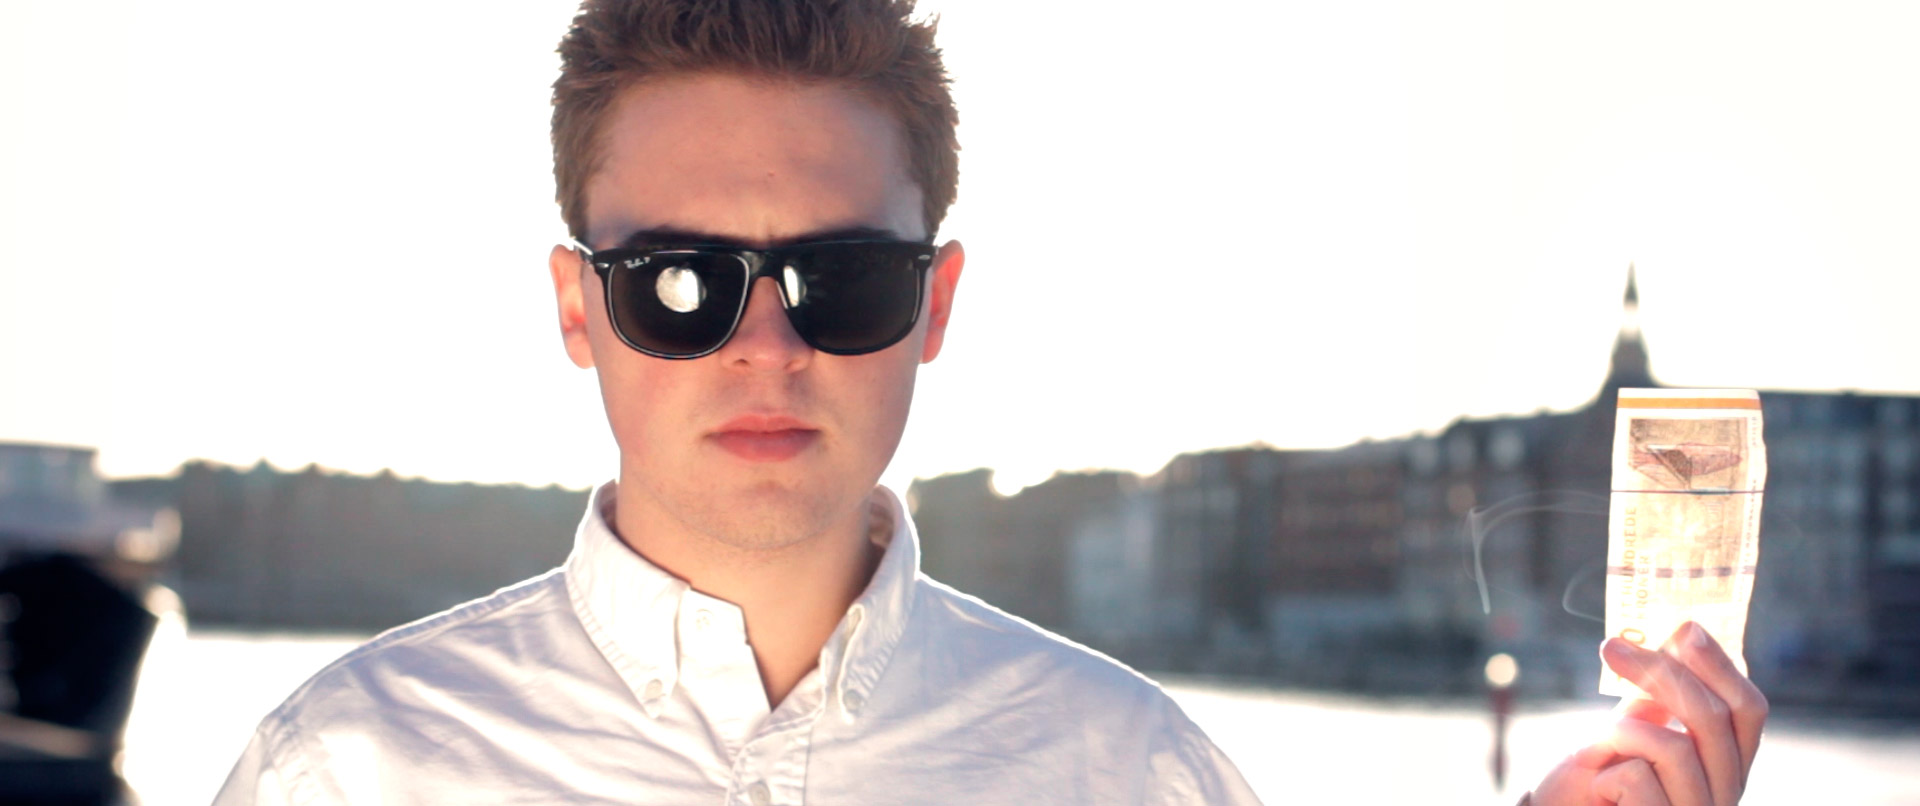
To make one note become several in the blink of an eye consisted of setting up a tripod and then having Malte stand perfectly still. I then very very carefully put in more money in his hand while he still stood statue-still. In After Effects I also used Ray Light along with some smoke stock footage to help sell the effect.
How to get a horse to star in your movie
Getting a horse to star in our video wasn’t as difficult as expected
As you can see on the snow on the ground, the shot with me sitting on a horse rapping to the camera in first verse was one of the first shots we shot on the production.
Getting a horse in the video proved to be a lot easier than we first expected. We simply called up a danish firm specializing in renting out horses to bachelor parties etc., and asked them if we could come out and visit them to shoot a few lines for a music video.
They liked the sound of it, so we drove out there, got me and Lucas (the very talented horse) saddled up and walked 100 metres away from the stable. We then got a few takes – with the owner of the firm standing just outside the picture to stop Lucas if he had chosen to run away with me on his back, scared to death and not knowing what to do – and called it a day.
Fortunens Ponycenter (the name of the firm) were so kind to give us the experience for free, and we then promised to mention their name in the credits.
Editing to the beat
Placing your cuts at the right moments is crucial to making a great music video. But you can’t just put a cut on each fourth down beat as it will quickly feel forced and boring.
It’s very important to place cuts on different kinds of drums, the melody and the words to create the right temp – as well as going “outside” the music and placing cuts on the action to mix it up.
But before venturing outside the safe zone of the drums, it’s a good idea to lay down some markers for guidance. In Premiere, simply play back the sequence and hit “M” on your keyboard to place a marker. You can easily change their location later on, as well as deleting them, so don’t be afraid that you don’t nail the down beats (or high-hats, or whatever fits the song you’re working on) the first time. Later on, you can scrub through it frame for frame (with the arrow keys) to get the exact placement.
Conclusion
With “Rige Svin”, We got to try a lot of new things. I rode a horse, we rode a Ferrari, we ate a few juicy burgers and I got the chance to try a lot of cool stuff in After Effects – just to name a few.
We made a few mistakes along the way, but thankfully, there’s no better way to learn than to have fun. And working on “Rige Svin” was extremely fun right from the beginning.
Luckily, a lot of amazing and talented people helped us with our project, and in the end, I am proud of the result.